When standard shelving just won't cut it, heavy-duty brackets are the unsung heroes of storage and display. From garages packed with tools to pantries laden with goods, choosing and installing the right brackets is critical for performance, longevity, and most importantly, safety. This comprehensive guide will walk you through everything you need to know to build shelves that are not only strong but unshakeably secure.
1. Understanding Heavy-Duty Shelf Brackets: What Sets Them Apart?
A heavy-duty shelf bracket is engineered to support significantly more weight than a standard decorative bracket. The difference lies in three key areas: material, construction, and design.
- Material: They are typically crafted from thick-gauge solid steel, cast iron, or stainless steel, providing immense structural integrity.
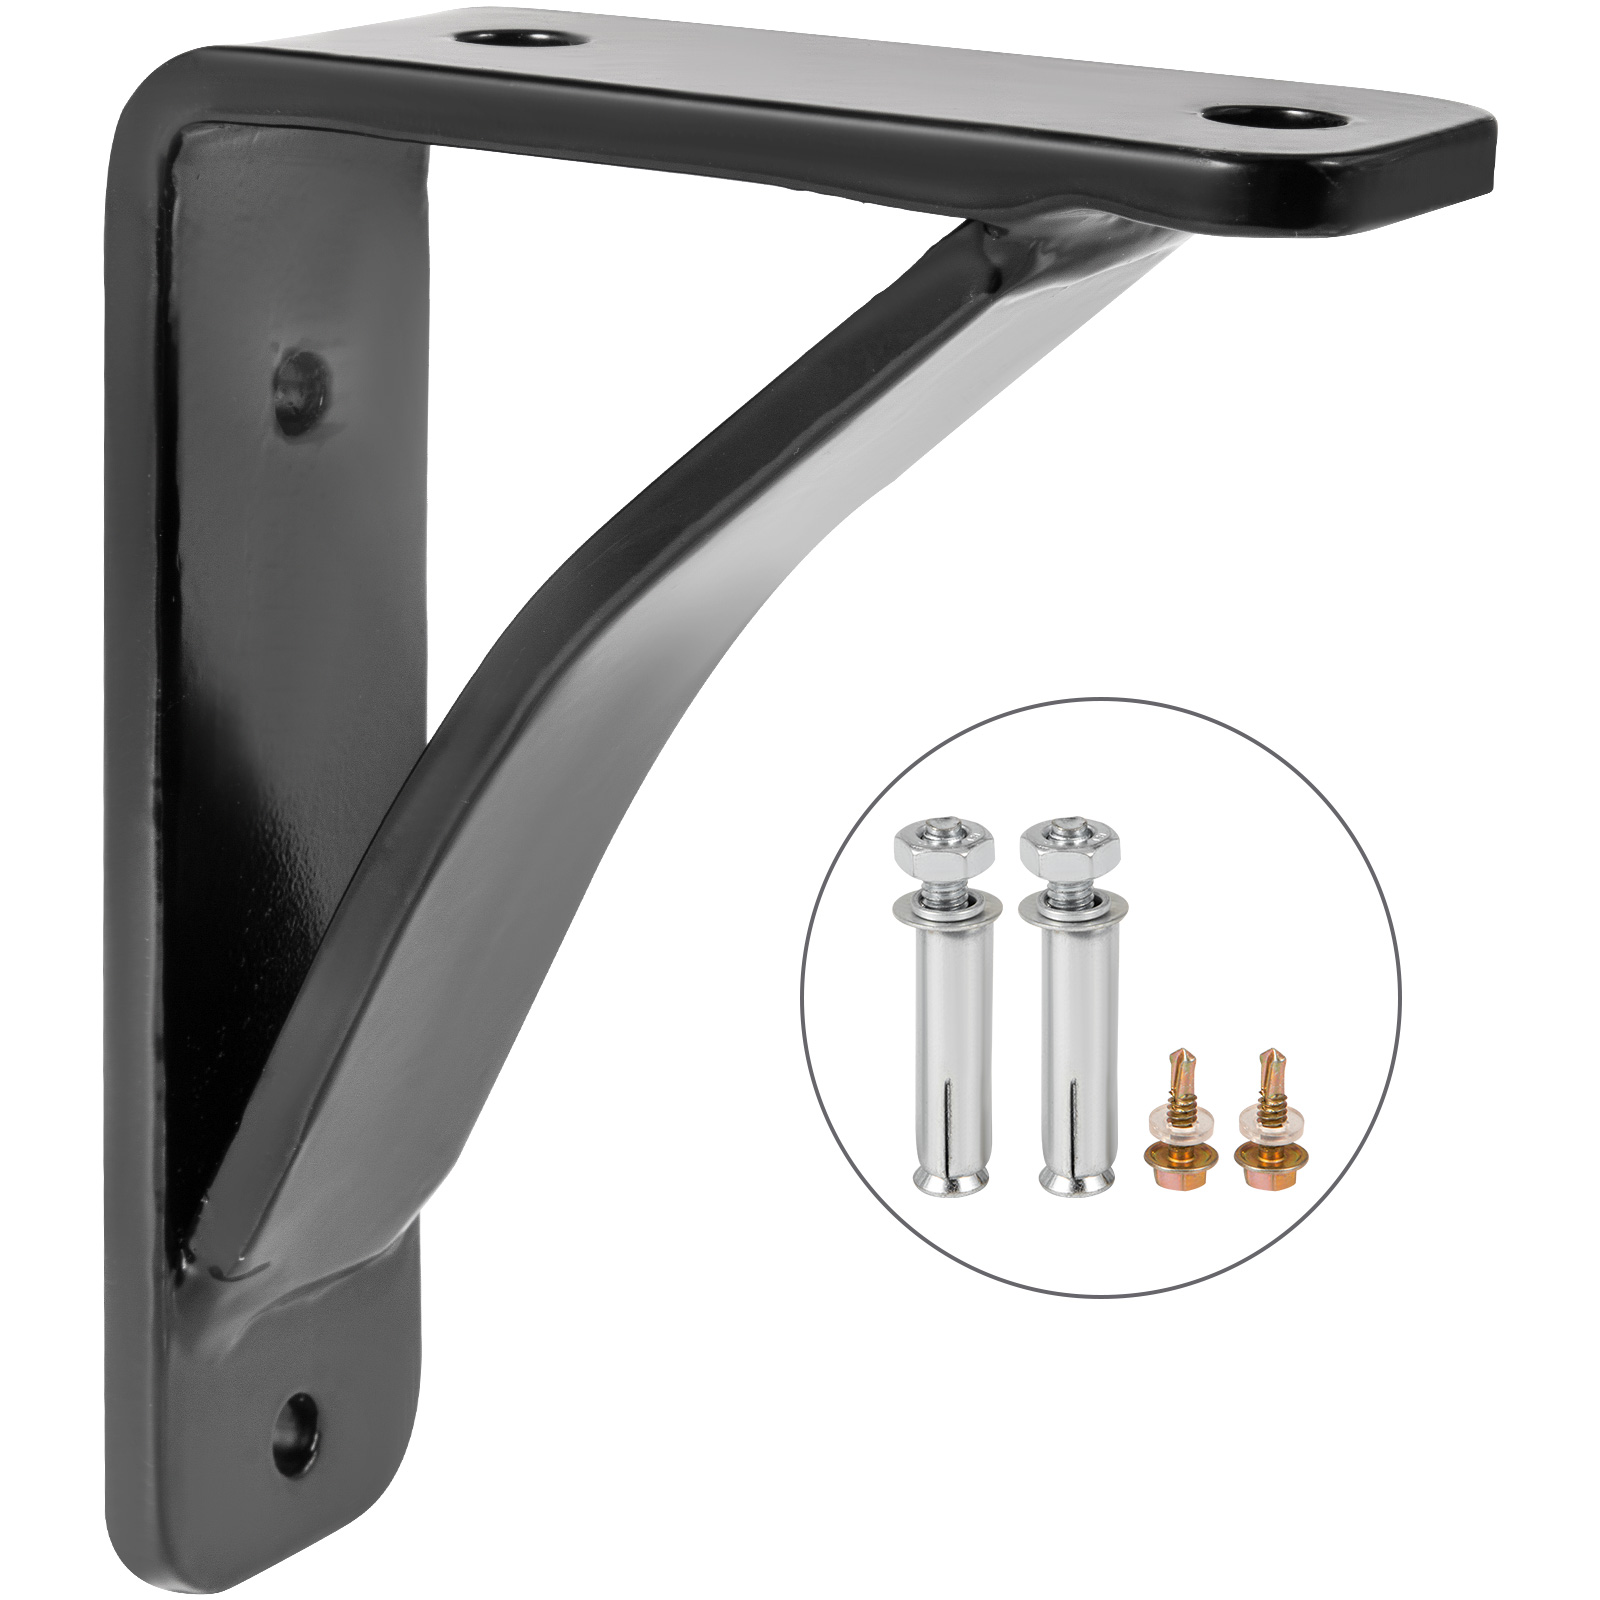
- Construction: Look for solid, one-piece construction or robust welding. Many feature a diagonal support gusset or a right-angle brace that triangulates force, dramatically increasing the load-bearing capacity and preventing bending under pressure.
- Design: The design prioritizes strength over aesthetics. They are often wider, thicker, and have larger mounting holes to accommodate heavy-duty screws or lag bolts that anchor directly into wall studs.
2. The Buyer's Guide: How to Choose the Perfect Brackets
Selecting the right bracket is a balance of function, environment, and load requirements. Follow this guide to make an informed choice.
2.1. Deciphering Weight Capacity: The Most Critical Factor
Manufacturers list weight capacity per bracket or per pair. Always assume the rating is for a pair of brackets properly installed into wall studs. Consider the total weight of what you plan to store. It's wise to choose a bracket with a capacity at least 25% higher than your estimated maximum load to ensure a safe margin.
For example, if you plan to store 150 lbs of items on a shelf, look for a pair of brackets rated for at least 200 lbs.
2.2. Material & Finish: Forging Strength and Style
- Raw/Industrial Steel: Incredibly strong and offers a rugged, industrial look. Prone to rust if not in a dry environment.
- Powder-Coated Steel: The most common option. A durable finish protects the steel from rust and scratches, available in various colors (black, white, etc.). Ideal for garages, workshops, and indoor use.
- Stainless Steel: Offers superior corrosion resistance, making it the perfect choice for damp or outdoor environments like kitchens, bathrooms, or exterior walls.
- Cast Iron: Often features more decorative designs while still providing excellent strength. Heavier and more brittle than steel but perfect for a vintage or rustic aesthetic.
2.3. Size and Design: Form Meets Function
The bracket's horizontal arm should support at least 75% of the shelf's depth. A 12-inch deep shelf, for instance, requires a bracket with a depth of at least 9 inches. This prevents the shelf from tipping or sagging at the front.
- Standard L-Bracket: The classic right-angle design, often with a reinforcing gusset for strength.
- J-Bracket: Features a lip at the end to hold standard lumber boards securely in place without needing to screw the shelf down from the top.
- Floating Shelf Brackets: Designed to be completely hidden within the shelf board for a clean, modern look. Ensure the bracket is rated for your intended load, as these often prioritize aesthetics.
3. Installation for Unshakeable Support: A Step-by-Step Guide
Proper installation is just as important as the bracket itself. A 500 lb bracket is useless if it's only secured to drywall.
3.1. Tools and Materials Checklist
- Stud Finder
- Tape Measure
- Pencil
- Level (a 24-inch or longer one is best)
- Drill with appropriate drill bits
- Screwdriver or Socket Wrench
- The heavy-duty brackets
- The shelf board
- The correct fasteners: Use the screws or lag bolts provided with the brackets. If none are included, purchase lag bolts long enough to penetrate at least 1.5 inches into the wall studs. Do not use drywall anchors.
3.2. Step 1: Locate the Wall Studs (The Non-Negotiable Step)
Use your stud finder to locate the center of the wooden studs in the wall where you plan to hang the shelf. Mark them lightly with a pencil. Standard stud spacing is typically 16 or 24 inches on center.
3.3. Step 2: Mark Your Placement with Precision
Decide on the height of your shelf. Hold the first bracket against the wall over a marked stud, ensuring it's vertically straight. Use your level to check. Mark the positions for the mounting holes. Measure and repeat for the second (and third, if needed) bracket, using the level across the top of the brackets to ensure your shelf will be perfectly horizontal.
3.4. Step 3: Drill Pilot Holes
Choose a drill bit slightly smaller than the diameter of your mounting screws or lag bolts. Drilling pilot holes prevents the wood stud from splitting and makes driving the fasteners much easier.
3.5. Step 4: Secure the Brackets to the Wall
Position the first bracket over its pilot holes and drive the lag bolts or screws in until they are tight and the bracket is flush against the wall. A socket wrench is often best for lag bolts. Repeat for all brackets.
3.6. Step 5: Attach the Shelf Board
Place your shelf board across the mounted brackets. Center it and check for overhang. Secure the shelf to the brackets from underneath using smaller wood screws to prevent it from sliding or being knocked off.
4. Maximizing Safety: Pro-Tips and Common Pitfalls to Avoid
- Respect the Load Limit: Never overload your shelves. Distribute weight as evenly as possible.
- Always Anchor to Studs: Drywall alone cannot support a heavy-duty load. If studs aren't available, you must install a horizontal mounting board (a ledger board) that is secured to the studs first, and then attach your brackets to that board.
- Use Quality Hardware: Don't reuse old, rusty screws or use ones that are too short. The fastener is the link between the bracket and the wall's structure.
- Perform Regular Checks: Periodically inspect your brackets and fasteners for any signs of loosening, bending, or stress, especially in high-use areas like workshops.
5. Frequently Asked Questions (FAQ)
- How far apart should heavy-duty brackets be?
- For maximum support, anchor each bracket into a wall stud. Standard stud spacing is 16 or 24 inches. For very heavy loads or long shelves, do not exceed 32 inches of spacing between brackets.
- Can I mount heavy-duty brackets into brick or concrete?
- Yes, but it requires different hardware. You will need a hammer drill and appropriate masonry anchors, such as sleeve anchors or lag shields, to ensure a secure hold.
- What's the difference between load capacity per bracket and per pair?
- A "per bracket" rating is for a single unit. A "per pair" rating is the total capacity for two brackets installed correctly. The "per pair" rating is the industry standard and most useful measurement.
6. Conclusion: Build with Confidence
Heavy-duty shelf brackets are the foundation of safe, reliable, and high-capacity storage. By understanding what makes them strong, choosing the right model for your needs, and following a meticulous installation process, you can transform any wall into a powerhouse of organization. Invest in quality, install with care, and enjoy the peace of mind that comes with unshakeable support.