Achieve a modern, minimalist aesthetic without compromising on safety. Heavy-duty glass shelf clamps are the key to a secure, durable, and stylish display or storage solution. This comprehensive guide will walk you through everything from selection to installation, ensuring your glass shelves are both beautiful and built to last.
1. Why 'Heavy-Duty' is Non-Negotiable for Glass Shelves
While standard brackets might suffice for wood or MDF, glass requires a specialized approach. The term "heavy-duty" isn't just a marketing buzzword; it refers to specific engineering and material qualities that ensure safety and longevity. These clamps provide a superior grip without creating stress points that could lead to cracks or shattering. Investing in heavy-duty clamps means investing in peace of mind, protecting both your valuables on the shelf and anyone below it.
2. The Anatomy of a High-Quality Glass Shelf Clamp
Understanding the components of a clamp helps you appreciate its function and quality. A typical heavy-duty clamp consists of:
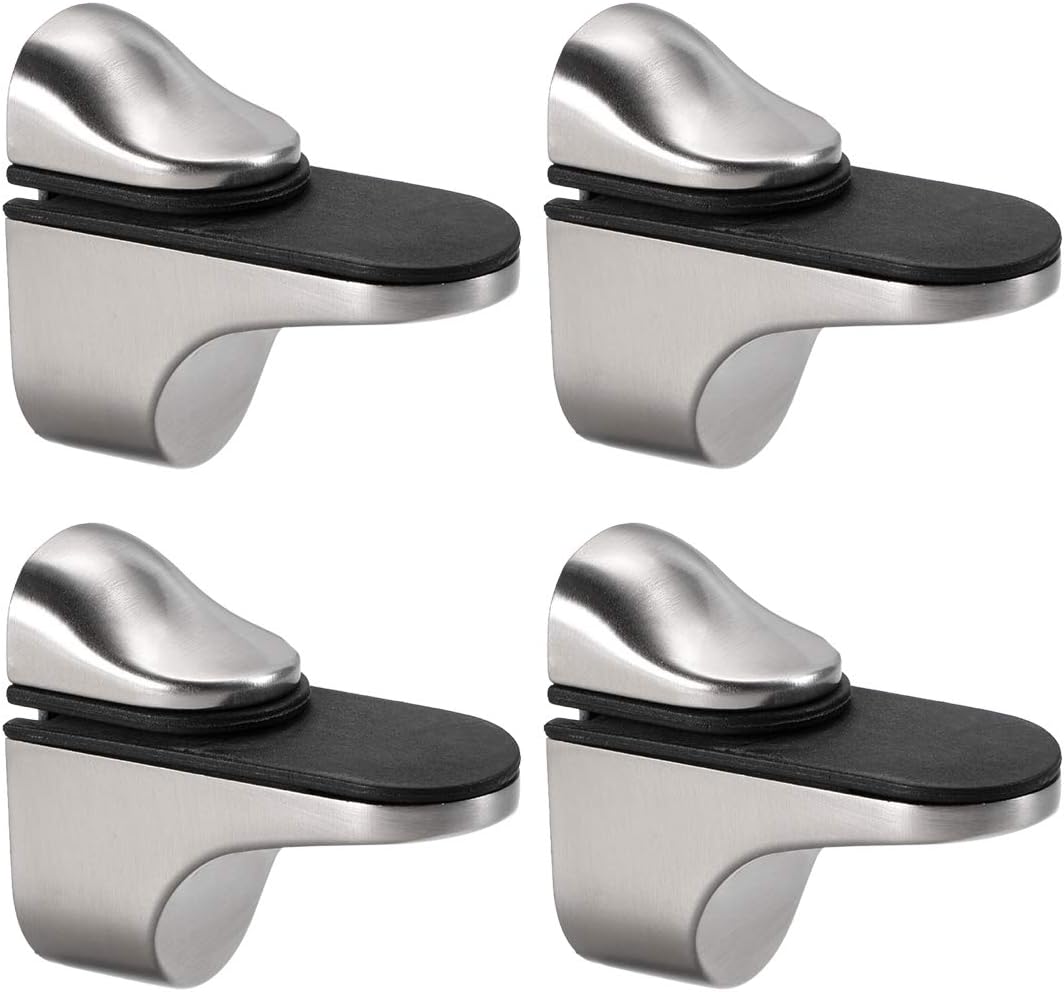
- The Body: The main structural component, usually made from solid metal like zinc alloy, brass, or stainless steel.
- The Gasket/Padding: Soft inserts made of nylon, rubber, or silicone that cushion the glass, prevent slipping, and absorb micro-vibrations. Never install a clamp without its gasket.
- The Securing Screw(s): A flat-tipped or nylon-tipped screw that tightens against the glass (via the gasket) to hold it firmly in place.
- The Mounting Plate/Screw Hole: The part of the clamp that fastens to the wall. Robust clamps feature a solid mounting point and often come with appropriate hardware.
3. Your Ultimate Buying Guide: Choosing the Perfect Clamps
Selecting the right clamp is the most critical step. Consider these four factors to make a confident choice.
3.1. Match the Clamp to Your Glass Specifications
Your glass and clamps must be perfect partners. Check the clamp’s product specifications for its supported glass thickness range. A common range is 6-10mm (1/4" to 3/8") or 8-12mm (5/16" to 1/2"). Using a clamp that is too large will result in a loose, unsafe fit; one that is too small won't fit at all. For safety, always use tempered or laminated glass for shelving projects.
3.2. Understand and Respect Weight Capacity
Every heavy-duty clamp has a maximum load rating, often listed as a "per pair" capacity. This number is based on correct installation into a solid wall stud or using high-quality wall anchors. Always calculate the total weight: the glass shelf itself plus the maximum weight of the items you plan to place on it. It's wise to choose clamps with a capacity that comfortably exceeds your calculation.
3.3. Select the Right Material and Finish
The material affects both durability and aesthetics. The finish should complement your room's decor.
- Stainless Steel: Excellent for strength and corrosion resistance, making it ideal for bathrooms and kitchens. Often has a brushed or polished finish.
- Zinc Alloy: A very common, cost-effective, and strong material. It is typically plated with a finish.
- Brass: A premium, heavy material that is highly durable and resistant to corrosion.
- Popular Finishes: Polished Chrome, Brushed Nickel, Matte Black, and Satin Brass are popular choices that match modern faucet and hardware trends.
3.4. Consider Clamp Style and Design
Clamps come in various shapes to suit different looks. The most common are square/rectangular for a sharp, modern look, and rounded/curved for a softer, more transitional style. The size of the clamp also matters; larger clamps offer more support and make a bolder statement, while smaller clamps offer a more "floating" appearance.
4. Step-by-Step Secure Installation Guide
Precision is key to a secure and level shelf. Follow these steps carefully.
Tools and Materials Needed:
- Drill with appropriate bits
- Level (a laser level is ideal)
- Tape measure
- Pencil
- Stud finder
- Wall anchors (if not mounting to studs)
- Your glass shelf and heavy-duty clamps
- Plan & Mark: Decide on the shelf height. Use the stud finder to locate wall studs. If possible, plan to mount at least one clamp into a stud. Use your level and tape measure to mark the precise drill hole locations for each clamp. Double-check that your marks are perfectly level.
- Drill Pilot Holes: If mounting into a stud, drill a pilot hole slightly smaller than your mounting screw. If mounting into drywall, drill a hole appropriately sized for your chosen wall anchor and install the anchor securely.
- Mount the First Clamp: Securely fasten the first clamp to the wall. Do not overtighten to the point of stripping the screw or damaging the wall.
- Mount the Second Clamp: Position and mount the second clamp. Before fully tightening, place the level across the tops of both clamps one last time to confirm they are perfectly aligned.
- Insert the Glass: Loosen the securing screws on the clamps so the glass can slide in easily. Ensure the protective gaskets are in place. Carefully slide the glass shelf into the clamps, centering it as desired.
- Secure the Glass: While holding the glass steady, hand-tighten the securing screws on each clamp. They should be snug enough to prevent any movement, but do not apply excessive force, which could damage the glass. Give the shelf a gentle nudge to ensure it is completely secure.
5. Common Installation Pitfalls and How to Avoid Them
- Ignoring Wall Studs: Relying solely on standard drywall anchors for a "heavy-duty" application is a recipe for failure. Always aim for at least one stud.
- Using the Wrong Anchors: If you must use drywall anchors, choose high-quality toggle bolts or screw-in anchors rated well above your total weight requirement.
- Over-tightening Screws: Over-tightening the mounting screws can strip the hole, and over-tightening the clamp's securing screw can create a pressure point on the glass. The goal is "snug and secure," not "crushed."
- Imprecise Measurements: An unlevel shelf is not only an eyesore but also distributes weight unevenly, creating a potential hazard. Measure twice, drill once.
6. Frequently Asked Questions (FAQ)
Q: How many clamps do I need for my shelf?
A: For shelves up to 36 inches (approx. 90cm), two clamps are generally sufficient. For longer shelves, you must add a central support clamp for every additional 24-30 inches to prevent sagging and ensure stability.
Q: Can I use these clamps in a shower?
A: Yes, but you must choose clamps made from solid stainless steel (like grade 304) or solid brass to prevent rust and corrosion. Ensure the mounting is into a waterproofed, solid substrate.
Q: What is the difference between a clamp and a bracket?
A: A bracket typically supports the shelf from underneath. A clamp "pinches" or "grips" the glass, often from the top and bottom, creating a more streamlined, floating look without a visible arm below the shelf.
7. Final Thoughts: Shelving with Confidence
Heavy-duty glass shelf clamps are the professional's choice for a reason. By prioritizing proper selection based on weight, glass type, and material, and by following a meticulous installation process, you can create stunning, secure, and functional glass shelving that enhances your space for years to come.