So, you've just come home with a fresh roll of beautiful shelf liner, ready to give your kitchen cabinets or pantry that clean, organized glow-up. You unroll it, hold it up to the shelf, and... wait. Your shelves are an inch deeper than standard. Or maybe they have a weird corner cut-out. That feeling of "well, now what?" sinks in.
Let's get straight to the good news: Absolutely, you can (and should!) custom-cut your shelf liners. In fact, almost every shelf liner on the market is designed with this exact purpose in mind. Custom-cutting is the secret to getting that seamless, professional, "how'd they do that?" look in any drawer, cabinet, or closet.
Forget trying to find the "perfect" pre-cut size. It probably doesn't exist. Instead, let’s walk through how to become a master of custom-cutting. It’s easier than you think!
Why Bother with Custom-Cutting?
You might be tempted to just fold the excess or let it curl up the sides. But taking a few extra minutes to cut your liner to size is a total game-changer. Here’s why:
- A Perfect, Flat Fit: A custom-cut liner lays perfectly flat, providing a stable, smooth surface for your dishes, glasses, or food items. No more wobbly spice jars!
- It Looks Professional: There's nothing more satisfying than opening a drawer and seeing a liner that fits edge-to-edge. It instantly makes the space look cleaner and more intentional.
- No Wasted Space: Folded or bunched-up liners can steal precious inches and create awkward gaps where crumbs and dust love to hide. A clean cut maximizes your usable space.
- Universal Solution: Whether you have extra-deep pantry shelves, narrow bathroom drawers, or custom-built cabinetry, cutting is the one-size-fits-all solution.
Getting Started: Your Toolkit for Success
Before you unroll anything, let's gather your tools. Having the right gear makes the job go from a chore to a surprisingly satisfying DIY project.
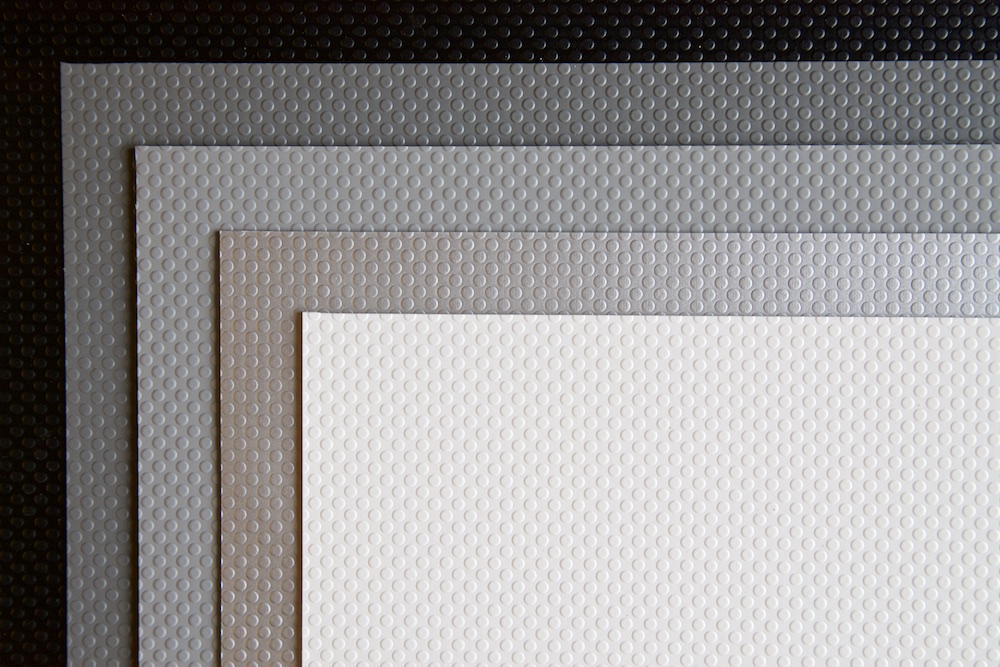
- The Liner Itself: Whether it's non-adhesive (cushy grip liner) or self-adhesive (sticky-back liner), have it ready to go.
- A Measuring Tape: A retractable metal tape measure is your best friend for accuracy.
- A Cutting Tool: You have options!
- Scissors: A good, sharp pair of scissors works well for most non-adhesive liners.
- Utility Knife or Craft Knife: This is the MVP. A sharp blade gives you the cleanest, straightest lines, especially on adhesive liners or thicker materials.
- A Straight Edge: A metal ruler, a yardstick, or even a level works perfectly. This is key for guiding your knife.
- A Self-Healing Cutting Mat (Highly Recommended): This protects your table or floor and helps your blade last longer. If you don’t have one, a large piece of sturdy cardboard will do in a pinch.
- A Pencil or Pen: For marking your measurements.
Your Step-by-Step Guide to a Flawless Cut
Ready? Let's do this. Just follow these simple steps.
Step 1: Measure, Then Measure Again
This is the golden rule: "Measure twice, cut once."
Pull out your tape measure and get the exact interior dimensions of your shelf or drawer—both the width and the depth. Don't measure the old liner you just pulled out; it might have shrunk or stretched over time. Get the true measurement from the surface itself. Write it down!
Step 2: Mark Your Cut Line
Unroll your liner on your cutting mat or protected surface, with the back (usually the side with the grid) facing up.
- If your liner has a grid: You're in luck! This is your easy guide. Use your measurements to find the corresponding lines on the grid. Use a pencil and your straight edge to draw a clear, solid line connecting the marks.
- If your liner has no grid: No worries! Use your tape measure and straight edge to measure and draw your own cutting lines on the back of the liner.
Step 3: The Moment of Truth—Make the Cut
Take a deep breath. You've got this.
Place your straight edge firmly along the line you drew. If you're using a utility knife, press down on the straight edge with one hand to keep it from slipping. With your other hand, make a long, smooth, confident cut along the ruler's edge. Try to do it in one continuous motion rather than short, choppy strokes. This prevents jagged edges.
If you're using scissors, just follow your line as carefully as you can. Long, smooth snips are better than lots of tiny ones.
Step 4: Place and Smooth
Now for the satisfying part! Take your freshly cut liner and place it in the drawer or on the shelf.
- For non-adhesive liners: Simply lay it in place and press it down, smoothing out any air bubbles from the center outwards. The weight of your items will help it stay put.
- For self-adhesive liners: This takes a little more finesse. Peel back just a few inches of the paper backing from one edge. Line up that edge perfectly in the drawer, then press it down firmly. Slowly pull off the rest of the backing while using your other hand (or a credit card) to smooth the liner down as you go. This "peel-and-stick" method prevents bubbles and wrinkles.
And that's it! Step back and admire your perfectly fitted shelf liner.
Pro Tips for Tricky Situations
What about those non-standard challenges? We've got you covered.
- Dealing with Tricky Corners or Notches: The best trick is to create a template. Take a piece of cardboard or craft paper and cut it to fit the shelf perfectly, including any weird angles or cut-outs for pipes. Once your template is perfect, just trace it onto the back of your shelf liner and cut.
- Cutting Adhesive Liners Without a Mess: The biggest issue with adhesive liners is the sticky residue they can leave on your scissors. If you must use scissors, wipe the blades with a little rubbing alcohol afterward. But honestly, a utility knife is your best bet here.
- If You Cut It a Little Too Big: Don't force it! This causes buckling. It’s better to take it out and trim off a tiny sliver for a perfect fit.
Quick Answers to Common Questions (FAQ)
- What's the absolute best tool for cutting shelf liners?
- For all-around performance and the cleanest cuts, a sharp utility knife paired with a metal ruler is the winning combination.
- Can I use a Cricut or Silhouette machine to cut my liner?
- Yes, you can, especially for intricate designs or adhesive vinyl liners! It's a bit of an advanced move. You'll need to make sure the liner isn't too thick for your machine and use a long cutting mat. It’s great for smaller projects but might be overkill for large pantry shelves.
- Help! I cut my liner too small. What do I do?
- Don't panic! It happens. If it's just a small gap, you can often hide it at the back of the shelf where it's less noticeable. If it's a big gap, you can cut a separate "patch" to fill it, though it won't look as seamless. Or, chalk it up as a practice run and use that piece for a smaller drawer!
You've Got This!
So, can shelf liners be custom-cut? Not only can they, but they should be. It's the single most important step to transforming your shelves from "good enough" to "absolutely perfect."
With a few simple tools and a little bit of patience, you can tackle any shelf, drawer, or cabinet in your home. So go ahead, grab that roll of liner, and get cutting. Your beautifully organized, perfectly lined shelves are waiting!